
MagnusBilling can present reseller branding in two places: inside the panel after the reseller signs in and on the login page opened through the reseller's own domain.
The two branding layers
- Panel logo: uploaded while signed in with the reseller account.
- Login identity: company name, domain and logo selected from the hostname used to open MagnusBilling.
1. Upload the reseller logo
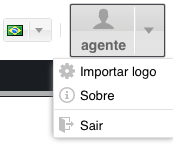
Sign in with the reseller's credentials, open the menu in the upper-right corner and choose the logo import option. Use the reseller session so the image is associated with the correct account.
2. Set the company name and domain
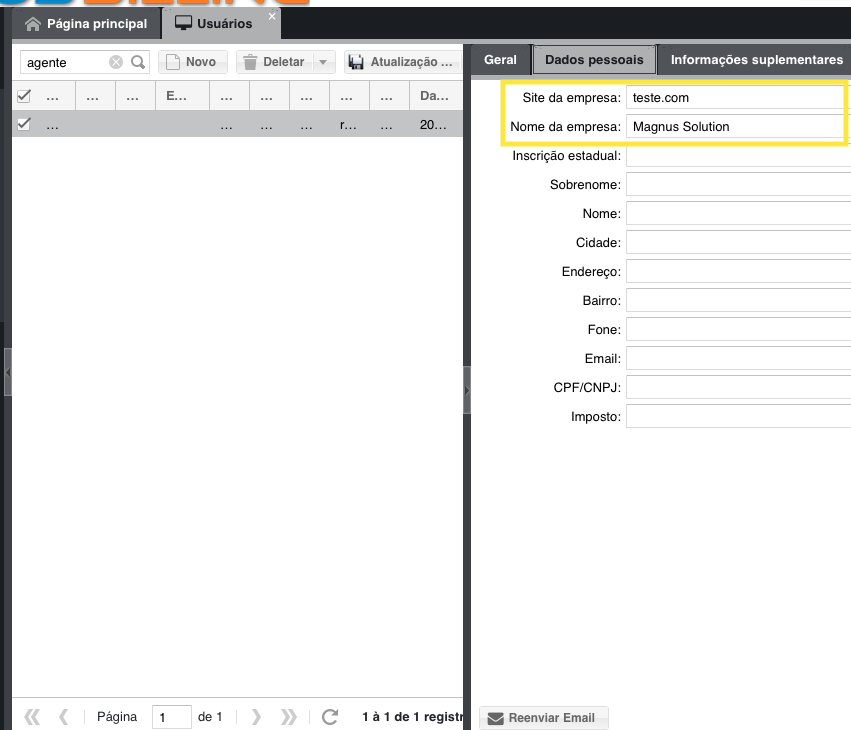
Edit the reseller user data and enter the company name and the exact domain or subdomain that the reseller will use.
3. Point DNS and test the login page
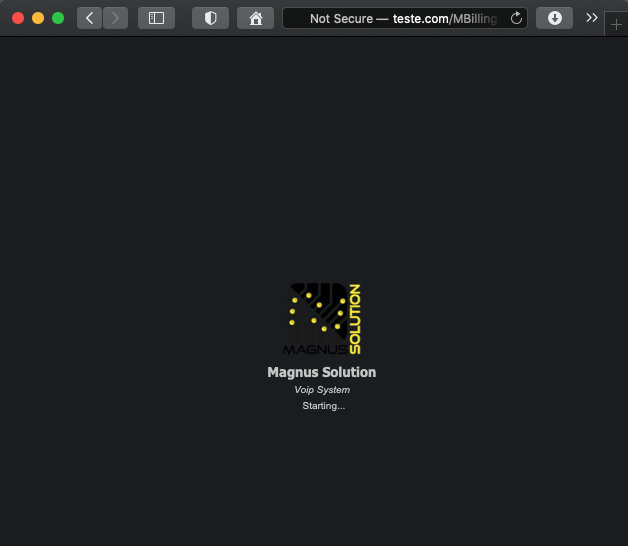
Point the configured hostname to the MagnusBilling server. Open that hostname in a private browser window and confirm the reseller logo and company name appear and the public registration action is hidden as expected.
Validation checklist
- Use a dedicated hostname with valid DNS.
- Serve the reseller page through HTTPS with a certificate for that hostname.
- Test the panel logo while signed in as the reseller.
- Test the login page while signed out.
- Clear browser and proxy caches after replacing a logo.