
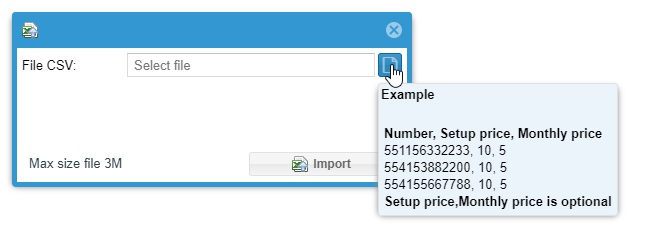
MagnusBilling can import multiple DID numbers from one CSV file. The original import dialog documents Number as required and Setup price and Monthly price as optional columns.
Prepare the CSV
Use the exact headers shown by the import dialog. Keep one DID per row and do not add thousands separators or formatting characters to the number.
Number,Setup price,Monthly price
551156332233,10,5
554153882200,10,5
554155667788,10,5
Columns shown in the original dialog
| Column | Required | Purpose |
|---|---|---|
| Number | Yes | DID number to create. |
| Setup price | No | One-time activation price. |
| Monthly price | No | Recurring monthly price. |
Import and validate
- Open the DID menu and start the CSV import.
- Select a small test file first.
- Confirm the delimiter and decimal notation expected by the installed version.
- Run the import and verify the created DIDs, setup prices and monthly prices.
- Review duplicates and rejected rows before importing the complete file.
If the file imports no rows
Check the headers, delimiter, encoding and line endings. A file created on Linux or macOS may need CRLF conversion for a legacy importer.